Application Flow
Add Fund - Application Flow
Click here for Add Fund Demo
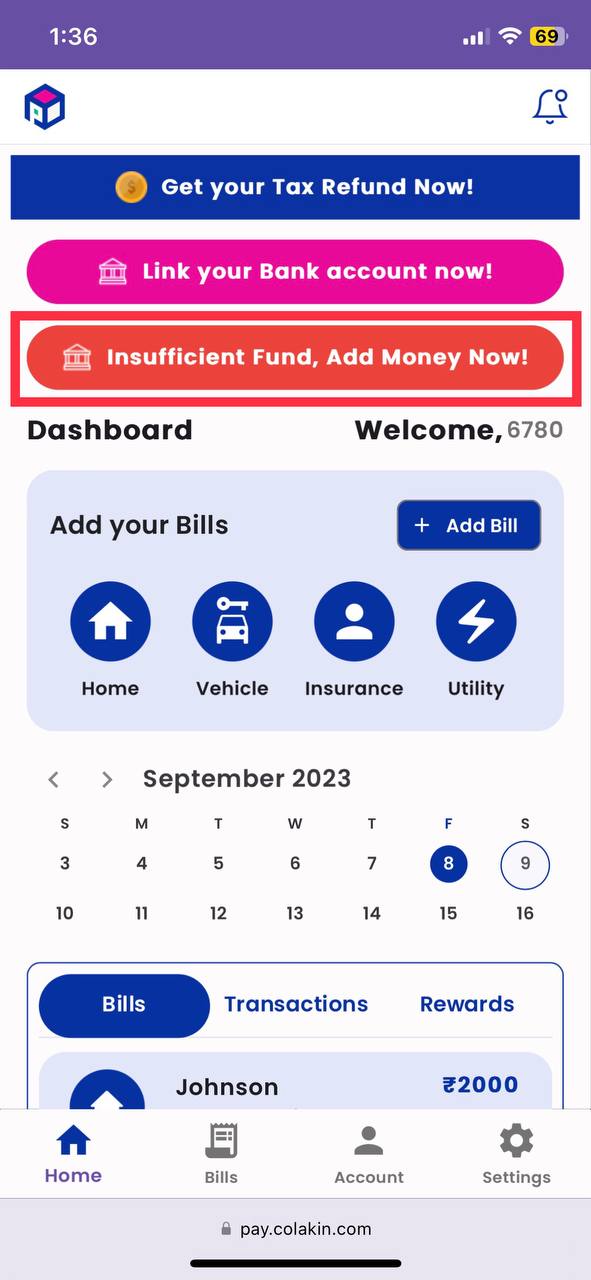
After Bill Approved
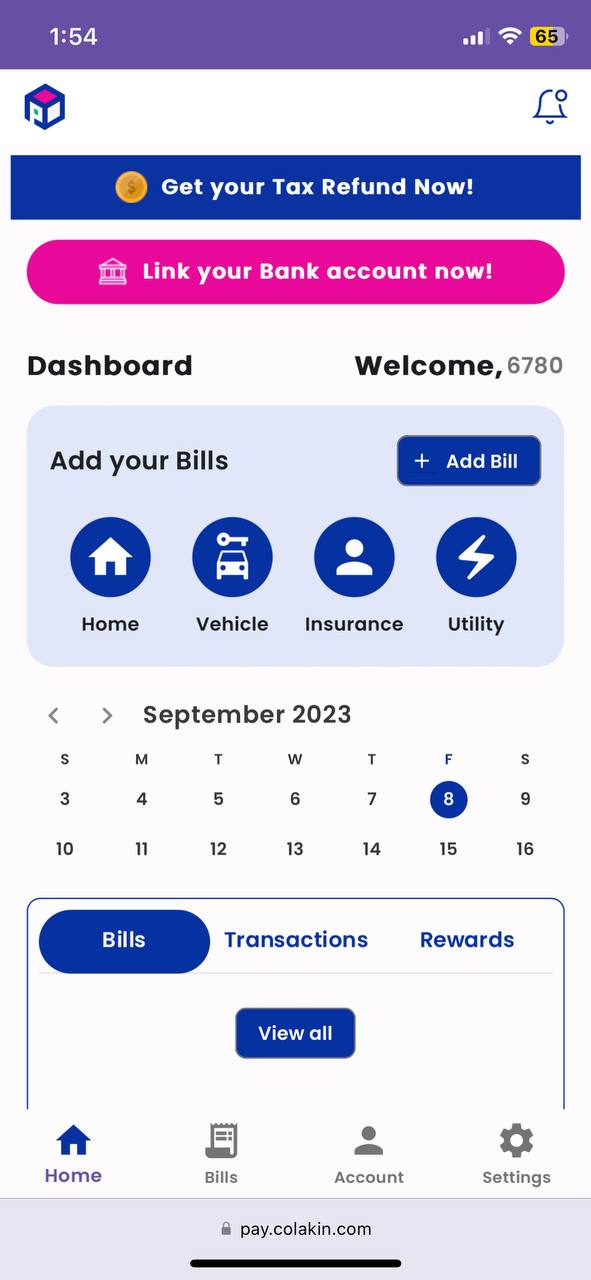
Once the bill setup is completed and the bill is approved, users will see a warning in the dashboard indicating "Insufficient Funds, Add Money Now!"
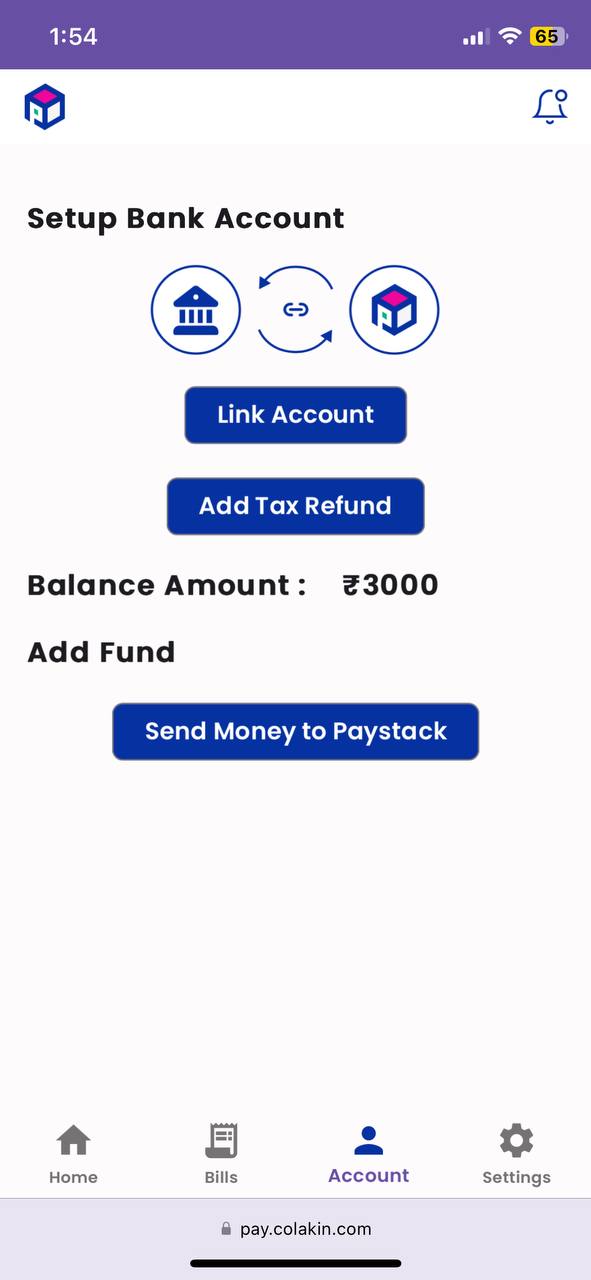
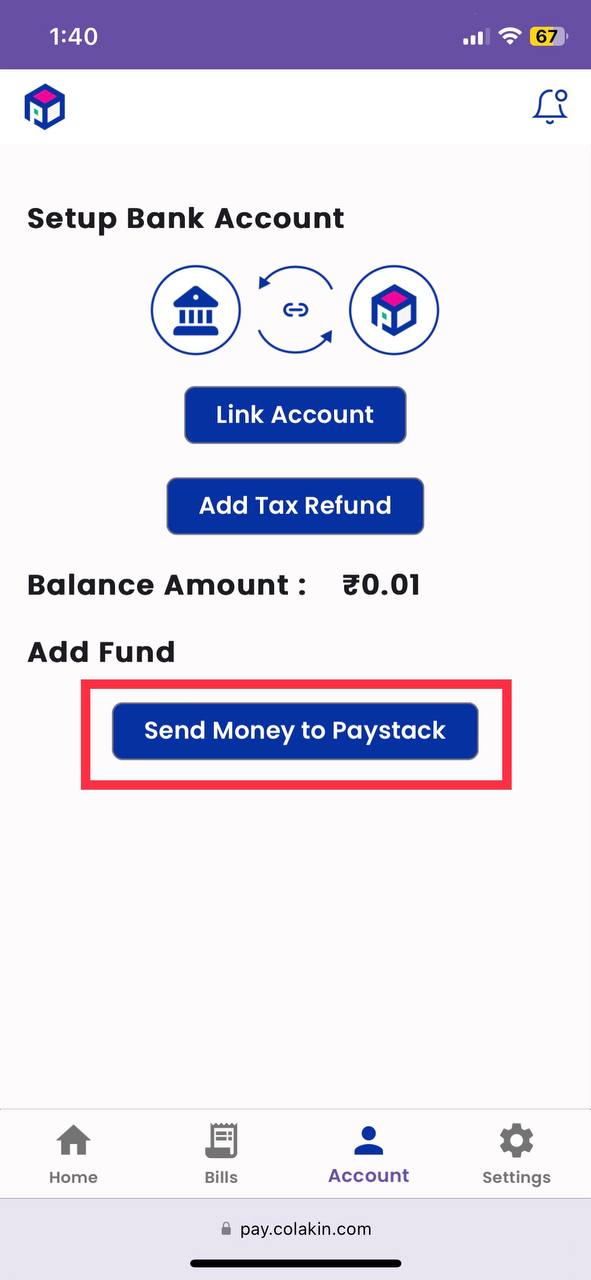
Add Fund
After linking their bank account, users need to add funds to their account. They can do this by either following the prompt "Insufficient Funds, Add Money Now!" on the dashboard or by clicking the "Send Money to Paystack" button on the Account page.
Dashboard
Accounts Screen
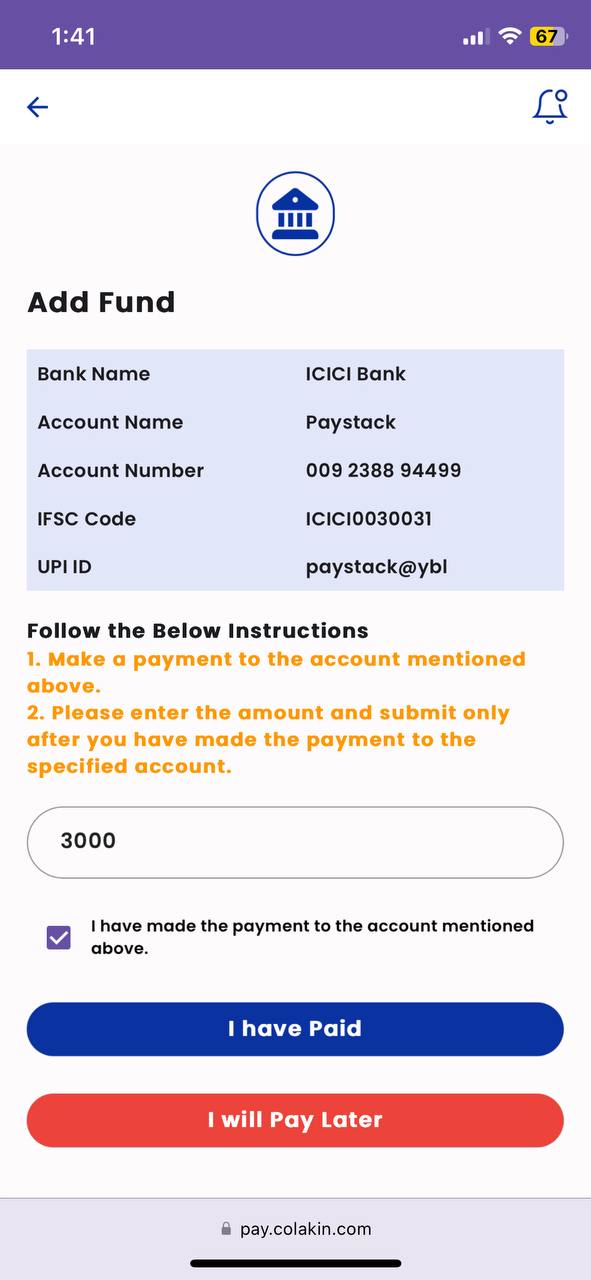
Pay money to Respective Account & Send Confirmation
In the "Add Fund" Page, users will find Paystack's account details for making payments. To pay a bill, for example, if the total bill amount is 1000 INR, the user should transfer 1000 INR to the Paystack account. They can make this payment from various platforms such as UPI or Net Banking.
After making the payment, the user needs to:
Enter the amount paid in the "Enter Paid Amount" textbox.
Confirm the payment by checking the provided checkbox.
Finally, select the "I have Paid" button to complete the process.
Application have seperate screen for different Locations like Australia, India and United States
Back Office Process
Notification from Slack
After the user sends confirmation from the "Add Fund" Page, the Back Office receives a notification message on Slack. Subsequently, the Back Office verifies whether the correct amount has been received in the user's account.
Back Office UI for Transaction
After the verfication, Back Office creates formance transaction with respective amount that received from user.
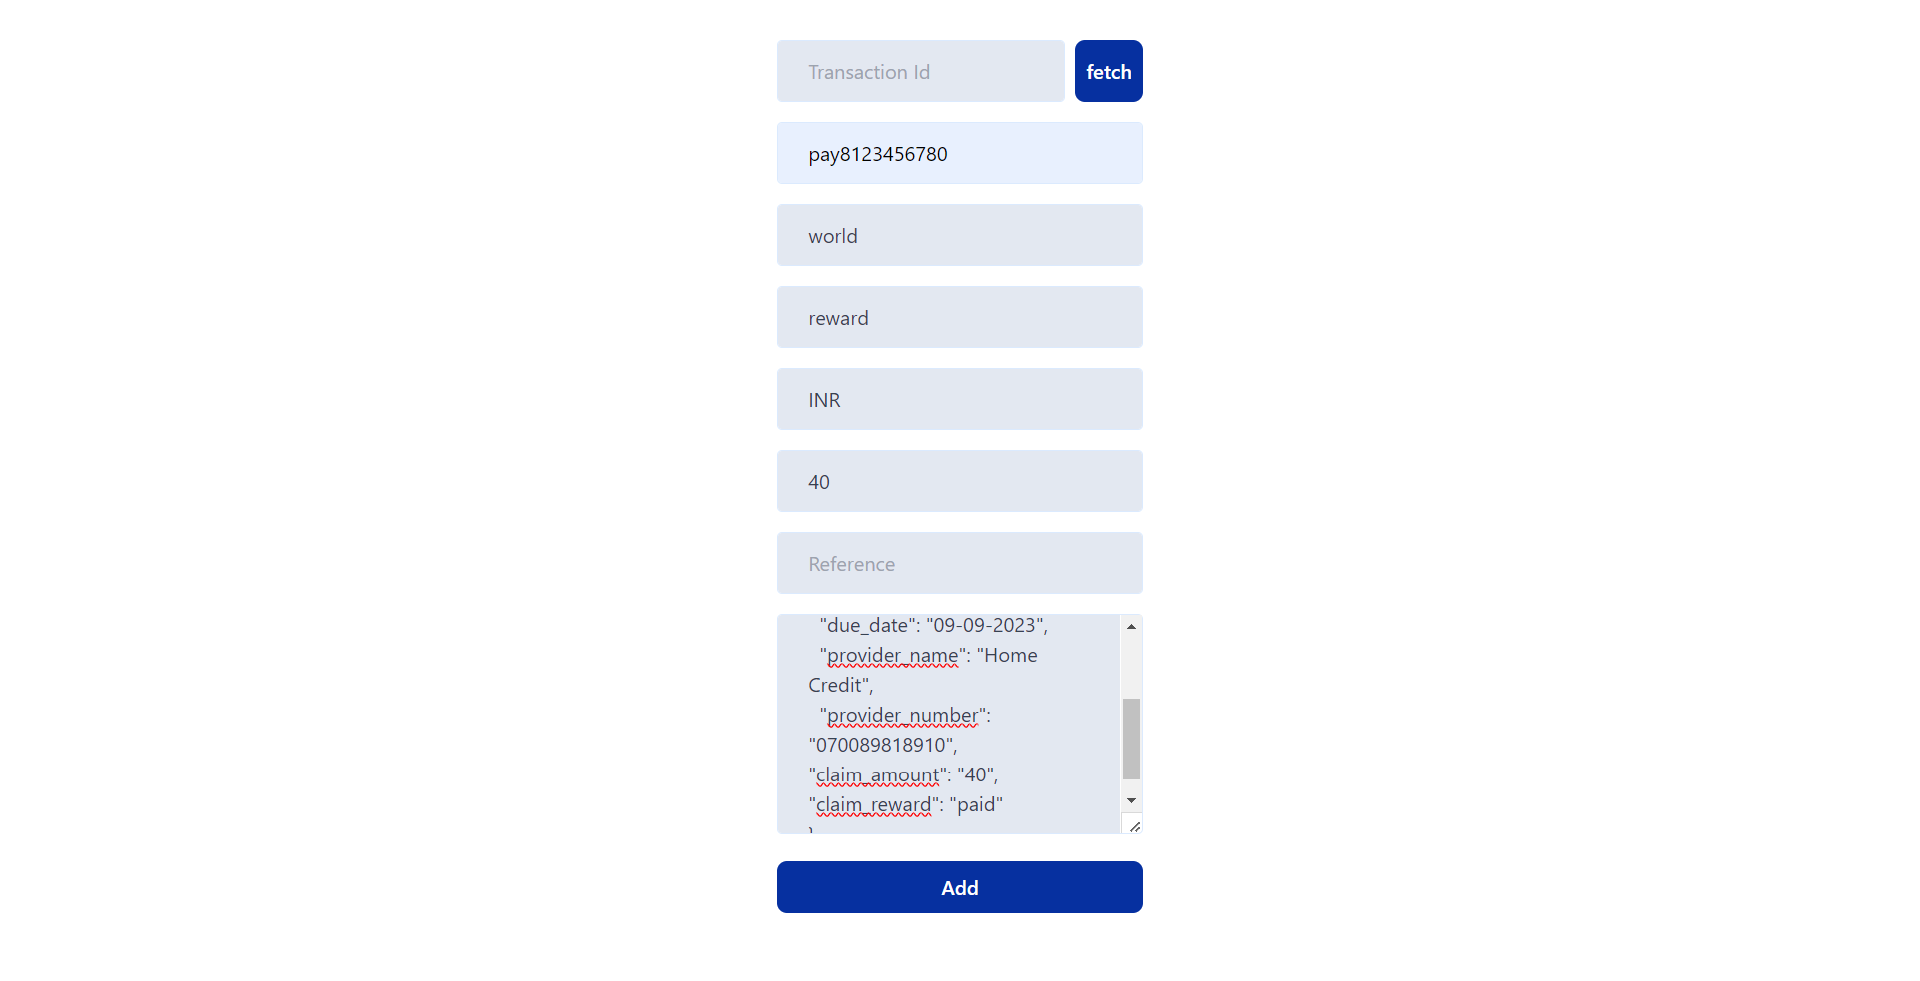
After entering proper data, Click Add Button
After Fund Added
Hides - Alert
After funds have been successfully added, the "Insufficient Funds, Add Money Now!" warning will be removed from the Dashboard.
Shows Balance
In Account Screen, User can able to see their added fund amount